Effective preschool classroom management is crucial for creating a structured environment that fosters learning and social development. Implementing strategies like routines, visual aids, and positive reinforcement helps teachers establish order and promote independence, ensuring a productive and engaging experience for young learners.
1.1 Importance of Effective Management
Effective management in a preschool classroom is essential for fostering a structured and supportive learning environment. It ensures that young children develop essential social, emotional, and academic skills while maintaining a sense of safety and predictability. Proper management reduces disruptions, allowing teachers to focus on instruction and children to engage in meaningful activities. It also promotes independence, self-discipline, and respect for others, laying a strong foundation for future academic success. By establishing clear expectations and routines, teachers can create a positive classroom culture that encourages growth, collaboration, and a love for learning. Effective management is the cornerstone of a productive and nurturing preschool experience.
1.2 Overview of Strategies
Preschool classroom management strategies encompass a variety of techniques designed to create a structured and engaging environment. These include establishing daily routines, using visual aids like schedules and charts, and implementing positive reinforcement systems. Active listening and clear communication are also key, helping teachers connect with students and address their needs. Additionally, promoting social-emotional learning and teaching conflict resolution skills empower children to navigate interactions effectively. Organizing the physical space to encourage independence and incorporating movement breaks are other effective approaches. By combining these strategies, teachers can foster a positive, respectful, and productive classroom atmosphere that supports the holistic development of young learners. This integrated approach ensures that children thrive both academically and socially.
Establishing Daily Routines
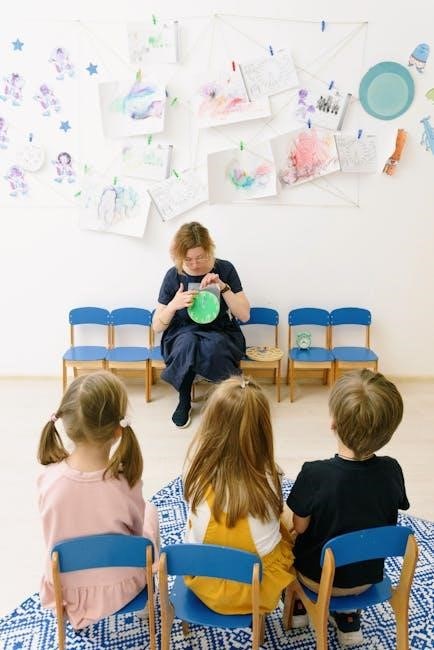
Daily routines provide structure and predictability, helping preschoolers feel secure and develop self-regulation skills. Consistent schedules for arrival, activities, and transitions promote smooth classroom operations.
2.1 Morning and Arrival Procedures
Morning and arrival procedures set the tone for the day, ensuring a smooth transition for young learners. Greeting students warmly and providing clear, kid-friendly labels on storage bins help them place their belongings neatly. Establishing consistent drop-off routines, such as hanging backpacks and washing hands, fosters independence and responsibility. Teachers should also use this time to engage students in gentle morning activities, like puzzles or quiet games, to ease into the classroom environment. Visual schedules and charts can guide students through each step, making the arrival process orderly and stress-free for both children and educators. This structured start helps create a positive and organized classroom atmosphere.
2.2 Activity Transitions and Cleanup
Smooth activity transitions and efficient cleanup are essential for maintaining a well-organized preschool classroom. Using visual timers and songs can signal to children that it’s time to move to the next activity, reducing resistance and chaos. Assigning small cleanup tasks, such as putting away toys or wiping tables, fosters a sense of responsibility. Teachers should model expectations clearly and provide positive reinforcement for cooperation. Incorporating movement breaks or short transition games can also make the process engaging. Cleanup routines should be practiced regularly to ensure children understand their roles and the importance of contributing to a tidy environment. This structured approach helps build self-discipline and prepares them for future classroom expectations.
Creating a Supportive Learning Environment
A supportive learning environment in preschool is achieved through intentional organization, visual supports, and social-emotional teaching. This fosters engagement, positivity, and a sense of community among young learners.
3.1 Organizing the Physical Space
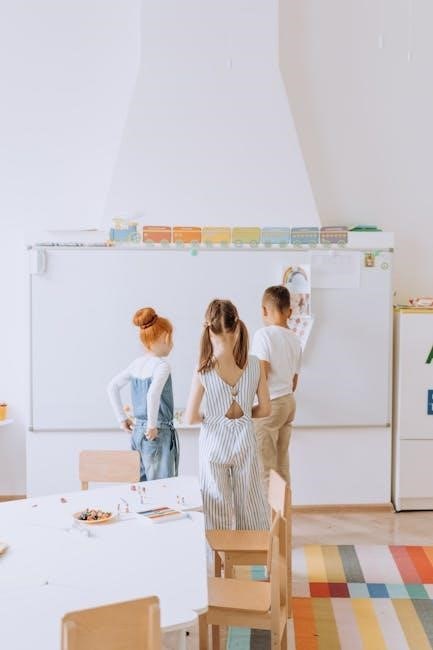
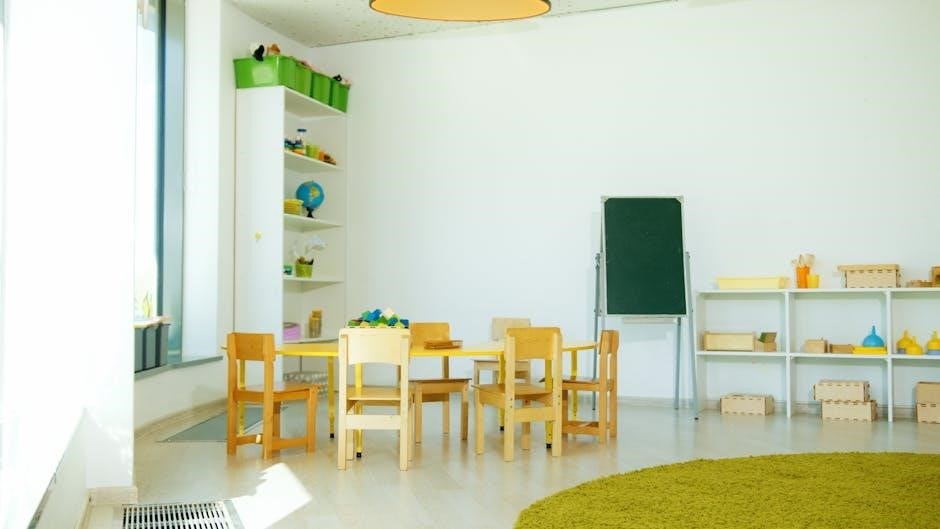
Organizing the physical space in a preschool classroom is essential for promoting engagement and minimizing distractions. By using clear labels and kid-friendly storage, teachers can help children navigate the environment independently. Visual supports, such as charts and bins with clear labels, guide students in finding materials and maintaining order. Open areas for play and structured zones for focused activities create a balanced layout that encourages exploration while maintaining organization. This intentional design not only enhances accessibility but also teaches children responsibility and self-management skills, fostering a sense of ownership and respect for their learning environment.
3.2 Encouraging a Growth Mindset
Encouraging a growth mindset in preschoolers helps them view challenges as opportunities for growth rather than obstacles. Teachers can foster this by praising effort, persistence, and progress, rather than just outcomes. Using specific, positive language, such as “I can see you worked hard on this,” reinforces the idea that abilities can improve with practice. Incorporating activities that promote problem-solving and resilience, like open-ended play and brainstorming sessions, also supports this approach. Additionally, modeling a growth mindset themselves, teachers demonstrate how to embrace mistakes as learning experiences. This mindset helps children develop confidence, curiosity, and a love for learning, laying a strong foundation for future academic and personal success.
Communication Strategies
Effective communication is key to managing a preschool classroom. Using clear, positive language and active listening fosters understanding and cooperation. Verbal cues and non-verbal gestures guide behavior and ensure clarity, creating a respectful and responsive learning environment.
Active listening is a powerful tool for effective communication in preschool classrooms. By giving children undivided attention, teachers show respect and encourage open expression. Techniques include maintaining eye contact, nodding to show understanding, and repeating back what was heard. This helps children feel valued, fostering a supportive environment. Teachers should avoid interrupting and instead ask clarifying questions to ensure comprehension. These methods not only enhance communication but also model positive listening behaviors for students to emulate. Incorporating these strategies daily strengthens teacher-student relationships and promotes a culture of mutual respect and understanding in the classroom. Consistency is key to developing these habits. Using positive language is a fundamental strategy in preschool classroom management. It involves framing instructions and feedback in a way that encourages good behavior and builds self-esteem. Teachers should focus on specific praise, such as acknowledging a child’s effort or creativity, rather than general compliments. For example, saying, “I really like how you shared the toys,” reinforces positive actions. Positive language also helps redirect negative behavior by focusing on what to do instead of what not to do. This approach fosters a supportive environment, reduces conflicts, and encourages children to make better choices. Consistent use of positive language helps children feel valued and motivated, creating a more harmonious classroom atmosphere. Social-emotional learning (SEL) fosters emotional awareness, empathy, and self-regulation in preschoolers. It involves teaching children to recognize, manage, and express emotions while developing cooperation and kindness toward others. Teaching emotional awareness in preschool involves helping children recognize, understand, and express their feelings. This can be achieved through discussions about different emotions, such as happiness, sadness, or anger, and how they feel physically. Using visual aids like emotion charts or feeling faces can make these concepts more tangible for young learners. Role-playing activities also encourage children to identify and mimic emotions, fostering empathy and self-awareness. Additionally, incorporating storytelling with characters experiencing various emotions can help children relate and articulate their own feelings. By fostering emotional awareness, teachers equip preschoolers with essential skills for managing emotions and building positive relationships. Encouraging empathy and cooperation in preschool fosters a supportive classroom environment. Teachers can model empathetic behavior by acknowledging children’s feelings and encouraging kindness. Group activities, such as collaborative art projects or team games, promote cooperation and mutual respect. Role-playing scenarios where children practice helping others or resolving conflicts also build empathy. Incorporating stories that highlight friendship and sharing teaches children the value of cooperation. Positive reinforcement, such as praising helpful actions, further reinforces these behaviors. By nurturing empathy and cooperation, teachers help children develop essential social skills, leading to stronger relationships and a harmonious classroom community. This foundation supports their emotional and social growth.
Promoting independence in preschool helps children develop self-reliance and confidence. Encouraging self-help skills, like dressing and using the bathroom, fosters a sense of accomplishment and readiness for future challenges. Developing self-help skills in preschoolers is essential for fostering independence. Teachers can encourage activities like tying shoes, using utensils, and completing simple tasks. Visual aids and consistent routines help children master these skills, building confidence and readiness for kindergarten. Positive reinforcement and patient guidance are key to their success. Assigning classroom jobs to preschoolers teaches responsibility and teamwork. Roles like “Librarian” or “Pencil Monitor” give children a sense of ownership and purpose. Clear expectations and visual reminders ensure tasks are completed. Rotating jobs regularly allows all students to participate, fostering inclusivity and varied skill development. This practice enhances social-emotional growth and classroom harmony. Teaching problem-solving skills and using mediation techniques helps preschoolers resolve conflicts peacefully. Encouraging empathy and cooperation fosters a harmonious classroom environment, promoting social-emotional growth and understanding. Teaching problem-solving skills empowers preschoolers to handle conflicts independently. Encourage children to identify issues, express feelings, and brainstorm solutions; Use open-ended questions to guide their thinking, fostering critical reasoning. Modeling calm communication and active listening helps them navigate disagreements constructively. Introduce visual aids like conflict resolution charts to provide structured approaches. Role-playing activities allow children to practice resolving scenarios, building empathy and cooperation. Praise efforts to reinforce positive behavior, helping them develop confidence in managing conflicts. By teaching these skills, teachers equip children with lifelong tools for resolving disputes and maintaining harmonious relationships. Consistent practice ensures these strategies become second nature, promoting a peaceful and supportive classroom environment. Mediation techniques are essential for resolving conflicts in preschool classrooms. Teachers act as facilitators, guiding children to express their feelings and concerns. By creating a calm environment, mediation encourages active listening and empathy among students. Using simple language, teachers help children articulate their perspectives and identify common goals. Encourage students to propose solutions, fostering a sense of ownership and responsibility. Visual aids, like peace symbols or conflict resolution charts, can support the process. Mediation teaches children to respect differing viewpoints, promoting cooperation and understanding. Regular practice of these techniques helps build a culture of respect, reducing conflicts and strengthening classroom relationships; Consistent use of mediation fosters social-emotional growth, preparing children for future interactions. Visual aids and cues are powerful tools for preschool classroom management. Charts, schedules, and movement breaks help guide behavior, simplify transitions, and enhance understanding, fostering a structured environment. Visual charts and schedules are essential tools for preschool classroom management. They provide clear expectations and routines, helping young children understand transitions and tasks. By using kid-friendly labels and images, teachers can create accessible guides that enhance independence. Visual schedules reduce anxiety by showing the sequence of activities, while behavior charts encourage positive actions through rewards. These tools are adaptable, allowing teachers to customize them to meet the unique needs of their students. Incorporating visual aids fosters a sense of structure and predictability, making the learning environment more organized and conducive to growth. Movement breaks are a vital component of preschool classroom management, offering children opportunities to release energy and refocus. These breaks, lasting just a few minutes, can include simple activities like stretching, jumping, or dancing. By incorporating movement, teachers help students maintain concentration and reduce restlessness. Movement breaks also promote physical development and coordination. They can be scheduled at regular intervals or used as transitional activities to signal the start or end of a lesson. This strategy not only supports academic engagement but also contributes to overall well-being, ensuring a balanced and active learning environment for young children. Regular movement breaks are essential for fostering both physical and mental growth in preschool settings. Engaging activities are essential for capturing young learners’ attention and fostering their development. Incorporating play-based learning, hands-on experiences, and creative exercises stimulates curiosity and skill-building in preschoolers. Planning developmentally appropriate activities is key to meeting the unique needs of preschoolers. These activities should align with children’s ages, abilities, and interests, ensuring they are both challenging and achievable. By incorporating a mix of structured and play-based learning, teachers can promote cognitive, social, and emotional growth; Research-based strategies suggest using themes and projects that integrate various skills, such as math, language, and problem-solving. Activities should also encourage creativity and curiosity, providing opportunities for hands-on exploration and discovery. Regularly assessing each child’s progress helps tailor activities to individual developmental levels, fostering a supportive and inclusive learning environment that prepares them for future academic success. Incorporating play-based learning into the preschool classroom is essential for fostering creativity, problem-solving, and social skills. Play serves as a natural medium for children to explore and understand their world, making it a powerful tool for learning. Teachers can structure play areas with diverse materials, such as blocks, art supplies, and pretend-play props, to encourage imaginative thinking and collaboration. By observing and guiding play, educators can identify learning opportunities and extend them through intentional teaching strategies. Play-based learning not only enhances academic readiness but also supports emotional development, helping children build confidence and resilience. Integrating play into daily routines ensures a well-rounded and engaging educational experience tailored to young learners’ needs. Smooth transitions in a preschool classroom minimize disruptions and maintain engagement. Strategies like visual schedules, movement breaks, and preparation cues help children adapt seamlessly between activities; Starting the day smoothly is essential for setting a positive tone in the preschool classroom. One effective strategy is to establish a consistent morning routine, which includes arrival procedures like greeting children, placing belongings in designated areas, and beginning with a short, engaging activity. Using visual schedules and cues can help children transition from home to school mode seamlessly. Additionally, incorporating a brief morning meeting can foster a sense of community and prepare students for the day ahead. By implementing these strategies, teachers can ensure that the day begins with structure, reducing chaos and promoting readiness for learning. Preparing for departure is crucial for maintaining order and ensuring a smooth transition at the end of the day. Teachers can use visual timers and countdowns to signal the approaching end of the session, helping children mentally prepare. Cleaning-up routines, such as putting toys away and organizing materials, teach responsibility and make transitions easier. Assigning small roles, like helpers to pack up, can foster a sense of ownership. A short closing activity, such as a goodbye song or ritual, provides closure and reinforces classroom community. Clear communication about departure procedures ensures everyone is on the same page. This structured approach helps reduce chaos, making the end of the day manageable and stress-free for both teachers and students. Positive reinforcement is a key strategy in preschool classroom management, encouraging desired behaviors through praise, rewards, and recognition. It fosters a supportive environment and motivates young learners. Implementing reward systems in preschool classrooms can effectively encourage positive behavior and motivate young learners. These systems should be clear, consistent, and age-appropriate. Rewards can be tangible, such as stickers or stars, or intangible, like verbal praise or special privileges. A well-structured reward system helps children understand expectations and develops a sense of accomplishment; Teachers can create charts or visual trackers to monitor progress, making achievements visible and reinforcing a growth mindset. It’s essential to balance rewards with opportunities for intrinsic motivation, ensuring that children learn for the joy of learning, not just for external incentives. This approach fosters resilience and a positive classroom culture. Praising effort and progress is a powerful strategy to encourage resilience and a growth mindset in preschoolers. By focusing on specific actions or improvements, teachers can help children recognize their achievements and feel a sense of pride. For example, saying, “I can see you worked hard to share with your friend,” highlights effort rather than just the outcome. Using verbal praise, stickers, or stars can motivate children to continue positive behaviors. It’s important to be genuine and consistent, ensuring praise is meaningful and tied to observable actions. This approach not only boosts confidence but also teaches children to value persistence and progress, fostering a supportive and encouraging classroom environment.4.1 Active Listening Techniques
4.2 Using Positive Language
Social-Emotional Learning
5.1 Teaching Emotional Awareness
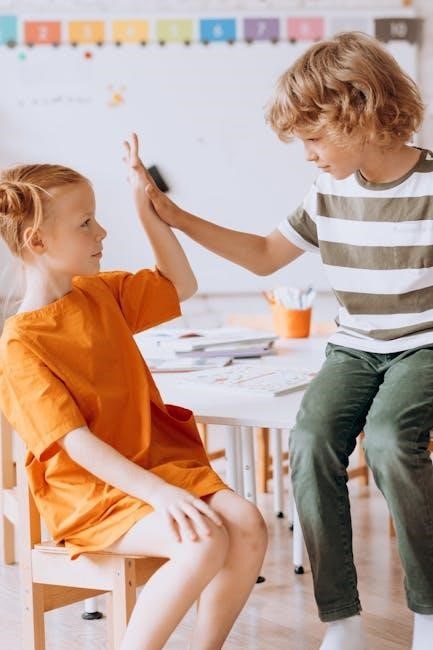
5.2 Encouraging Empathy and Cooperation
Promoting Independence
6.1 Self-Help Skills Development
6.2 Assigning Classroom Jobs
Conflict Resolution
7.1 Teaching Problem-Solving Skills
7.2 Mediation Techniques
Visual Aids and Cues
8.1 Using Charts and Visual Schedules
8.2 Incorporating Movement Breaks
Engaging Activities
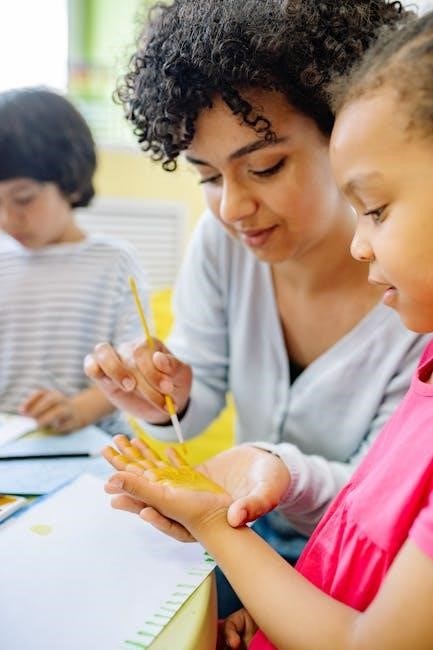
9.1 Planning Developmentally Appropriate Activities
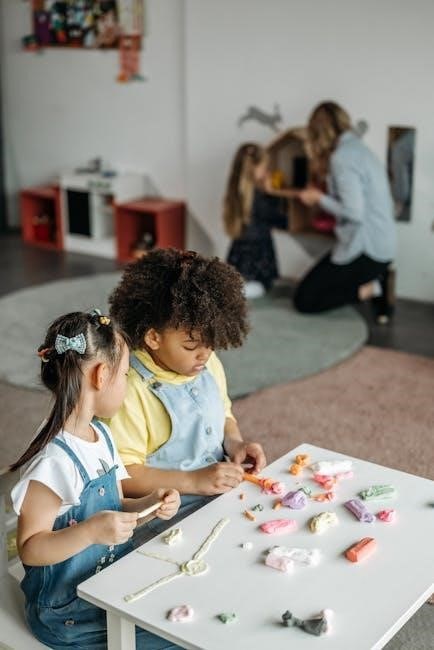
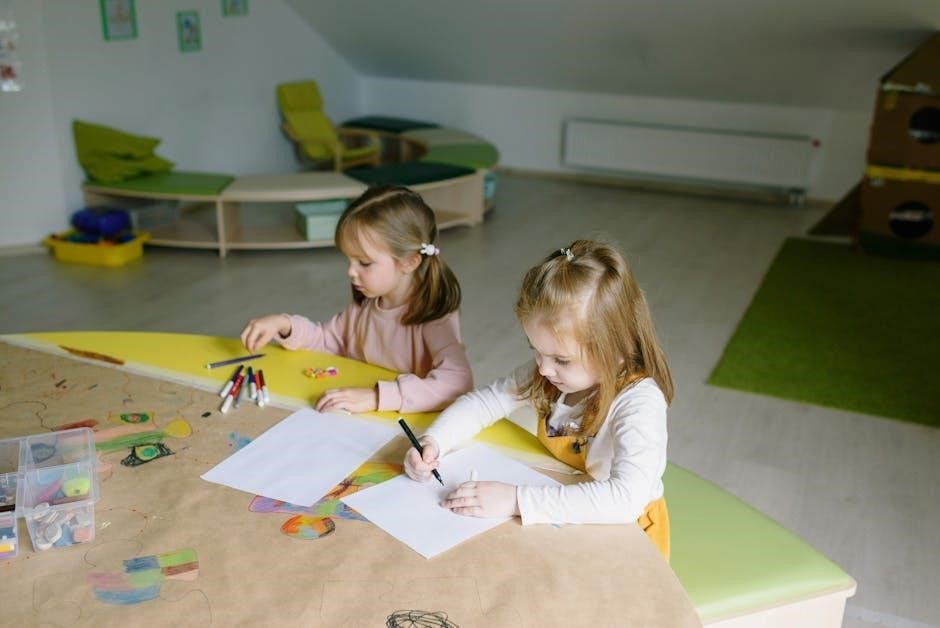
9.2 Incorporating Play-Based Learning
Smooth Transitions
10.1 Strategies for Starting the Day
10.2 Preparing for Departure
Positive Reinforcement
11.1 Implementing Reward Systems
11.2 Praising Effort and Progress