One For All Remote Control Manual: A Comprehensive Guide (Updated 04/09/2026)
Welcome to the user manual for your newly set up One For All Remote Control. This comprehensive guide is intended to help you get started and provide thorough instructions.
The One For All remote control is designed to simplify your home entertainment experience, consolidating multiple remotes into a single, user-friendly device. This universal remote is compatible with a vast range of devices, including TVs, DVD players, Blu-ray players, soundbars, and more.
This manual provides a step-by-step guide to setting up and using your One For All remote, ensuring optimal performance and convenience. Whether you prefer automatic device detection or manual code entry, we’ve outlined clear instructions to get you up and running quickly.
We aim to empower you with the knowledge to fully utilize the remote’s features, from basic operations like power and volume control to advanced functions like macro programming. Let’s begin transforming your entertainment setup!
What’s in the Box? ౼ Components Checklist
Before you begin, please verify that your One For All remote control package contains all the following components. This ensures you have everything needed for a smooth setup process.
Included Items:
- One (1) One For All Universal Remote Control
- Two (2) AA Batteries
- One (1) Quick Start Guide – providing basic setup instructions.
- One (1) Full User Manual – this comprehensive document.
If any items are missing or appear damaged, please contact our customer support team immediately (see the ‘Warranty Information and Support’ section for details). Do not attempt to use a damaged remote. Retain the original packaging for potential returns or warranty claims.
Understanding the Remote Layout
The One For All remote is designed for intuitive operation. Familiarizing yourself with the layout will significantly enhance your user experience. The remote is logically divided into sections for easy navigation and control.
At the top, you’ll find the power button and directional pad. Below this are dedicated buttons for channel selection and volume adjustment. The central area houses the menu and navigation buttons, allowing access to device settings.
Special function buttons, such as ‘Input’ and ‘Guide’, are located towards the bottom. Take a moment to visually inspect each button and its corresponding icon. Refer to the following sections for detailed explanations of each button’s function.
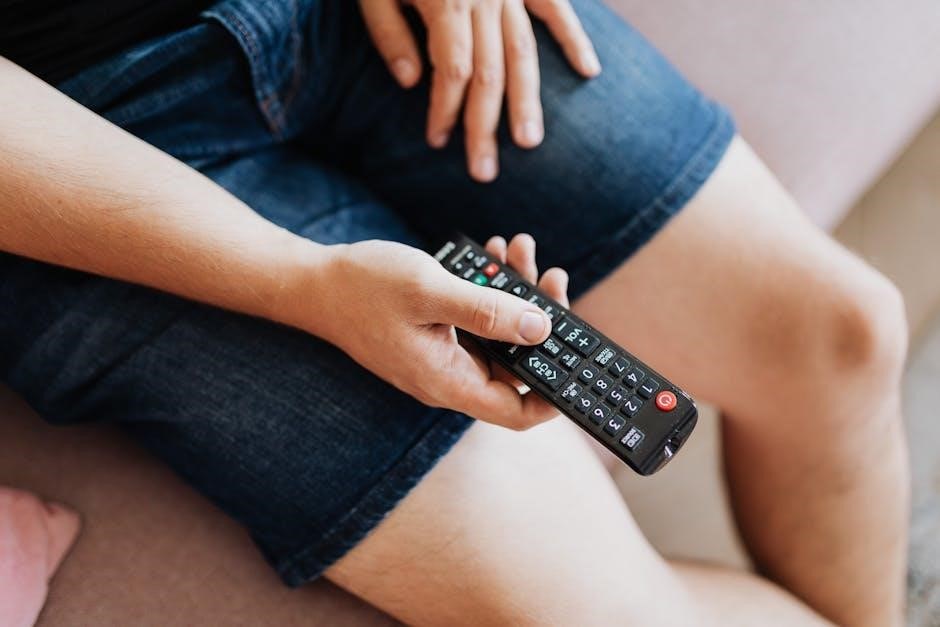
Button Functions: Power, Volume, Channel
The Power button, typically red, controls the on/off function of your connected devices. A single press usually toggles the power state. The Volume buttons, marked with plus (+) and minus (-) symbols, adjust the audio level. These buttons work across various devices like TVs and soundbars.
Channel buttons, often numbered or with up/down arrows, allow you to directly select channels on your television. Holding these buttons may enable faster channel surfing. These core functions provide immediate control over your entertainment experience.
Understanding these basic controls is crucial for seamless operation. Experiment with each button to become comfortable with its response and functionality. Proper use of these buttons will simplify your daily viewing habits.
Navigation and Menu Buttons Explained
The directional pad (up, down, left, right) allows you to navigate on-screen menus and select options. Use these buttons to move through settings, apps, and content listings. The OK/Select button confirms your choices within menus. The Menu button typically displays the main settings menu of your connected device.
The Back or Return button navigates you to the previous screen. The Exit button usually closes menus and returns you to the live TV view. Mastering these buttons is essential for accessing and customizing your device’s features.
These navigation tools provide a user-friendly interface for exploring all the functionalities of your television or other connected devices, enhancing your overall viewing experience.
Special Function Buttons (Input, Guide, etc.)
The Input button allows you to cycle through the available input sources connected to your TV, such as HDMI 1, HDMI 2, or AV. The Guide button, when available, accesses the electronic program guide (EPG) for your TV service, displaying scheduled programming. The Info button often displays detailed information about the current program or channel.
Some remotes feature a Settings button for quick access to device settings. Dedicated streaming buttons (Netflix, YouTube, etc.) launch those apps directly. These specialized buttons streamline common tasks, providing instant access to frequently used features.
Familiarize yourself with these functions to maximize the convenience and efficiency of your One For All remote control.

Initial Setup and Device Compatibility
Before diving in, ensure your devices are compatible with the One For All remote. This remote is designed for broad compatibility, but verifying beforehand saves time. The initial setup involves checking compatibility, installing batteries, and then programming the remote to control your specific devices.
Successful setup hinges on accurate device recognition. We offer online tools to confirm compatibility and guide you through the programming process. Proper battery installation is crucial for optimal performance. Following the steps carefully – either through auto-search or code entry – will establish seamless control over your entertainment system.
Let’s begin with a smooth and efficient setup experience!
Checking Device Compatibility Online
To guarantee a seamless experience, verifying your device’s compatibility with the One For All remote is a vital first step. Our dedicated online compatibility checker, accessible through the One For All website, provides a quick and easy solution. Simply input your device’s brand and model number to instantly determine if it’s supported.
This tool eliminates guesswork and ensures you’re equipped with the correct programming method. The database is regularly updated to include the latest models, maximizing compatibility. If your device isn’t listed, don’t worry! The remote still might work using the code entry method, but online verification is always recommended for optimal results and a hassle-free setup.
Battery Installation and Replacement
Proper battery installation is crucial for optimal remote performance. Locate the battery compartment, typically on the back of the remote, and gently slide open the cover. Insert the batteries – usually AAA or AA, as indicated inside the compartment – ensuring correct polarity (+ and -) as marked. Once the batteries are securely in place, close the battery compartment cover.
For battery replacement, follow the same procedure. Always use new batteries of the same type and avoid mixing old and new batteries. If the remote isn’t responding, even with new batteries, double-check the polarity and ensure the batteries are making good contact. Dispose of used batteries responsibly, following local regulations.
Programming the Remote ⏤ Auto Search Method
The Auto Search method is a convenient way to program your One For All remote without needing specific device codes. First, ensure your target device (TV, DVD player, etc.) is powered on. Press and hold the ‘Setup’ or ‘Magic’ button (refer to your remote’s layout) until the indicator light illuminates. Then, press the ‘Power’ button repeatedly, pausing for a few seconds between each press.
The remote will send power signals to your device. When your device turns off, immediately press the ‘OK’ or ‘Enter’ button to lock in the code. Test the remote’s functionality with volume and channel controls. If it doesn’t work, repeat the process. This method can take some time, but it’s effective for many devices.
Programming the Remote ౼ Code Entry Method
If the Auto Search fails, the Code Entry method offers a more precise approach. First, locate the four- or five-digit code for your device brand and model. You can find these codes on the One For All website or in the included code list. Press and hold the ‘Setup’ or ‘Magic’ button until the indicator light turns on. Then, enter the code using the number buttons on the remote.
After entering the code, the indicator light should blink or turn off, confirming code acceptance. Test the remote’s functions – power, volume, channel – to verify successful programming. If the remote doesn’t respond, double-check the code and repeat the process. Accurate code entry is crucial for proper device control.
Advanced Features and Troubleshooting
Beyond basic operation, your One For All remote offers advanced capabilities. Explore the Learning Function (if your model supports it) to copy signals from your original remotes, expanding compatibility. Macro Programming allows you to combine multiple commands into a single button press for streamlined control of complex setups.
However, issues can arise. If the remote isn’t responding, ensure fresh batteries are installed correctly. For incorrect device control, re-program the remote, verifying the correct code is entered. Persistent problems may indicate signal interference or device incompatibility; consult the online compatibility checker for assistance and further troubleshooting steps.
Using the Learning Function (If Applicable)
The Learning Function, available on select One For All remotes, allows you to teach your remote commands from original manufacturer remotes. Begin by entering Learning Mode – consult your remote’s specific button combination in the full manual. Position the original remote facing your One For All remote, maintaining a short distance.
Press the button on the original remote you wish to learn, then press the corresponding button on your One For All remote to store the signal. Repeat this process for each desired command. Successful learning is usually indicated by a light signal. This feature expands compatibility beyond pre-programmed codes, offering greater flexibility.
Macro Programming ౼ Creating Custom Commands
Macro programming enables you to combine multiple remote control commands into a single button press, streamlining your entertainment experience. Access Macro mode through the setup menu – refer to your remote’s specific instructions; Begin recording by pressing the designated ‘Macro’ button, then input the sequence of commands you desire, such as ‘Power On’, ‘Input Select’, and ‘Volume Up’.
Carefully time each command entry. Once finished, save the macro to a preferred button. Test the macro to ensure accurate execution. This feature is ideal for complex operations, simplifying control of multiple devices with a single touch, enhancing convenience and user satisfaction.
Resolving Common Issues: Remote Not Responding
If your One For All remote isn’t responding, begin with the simplest solutions. First, ensure fresh batteries are correctly installed, observing proper polarity. Next, try resetting the remote by removing the batteries for 60 seconds, then reinserting them. Confirm there are no obstructions between the remote and your device’s IR sensor.
If the issue persists, re-program the remote following the auto-search or code-entry method detailed earlier in this manual. Check for interference from fluorescent lights or direct sunlight. As a last resort, consult the troubleshooting section on the One For All website for device-specific guidance and potential firmware updates.
Troubleshooting: Incorrect Device Control
Experiencing incorrect device control with your One For All remote? This often indicates an incorrect device code has been programmed. Begin by re-running the auto-search programming method, allowing the remote to cycle through all available codes for your specific device brand. If auto-search fails, manually enter codes from the online code list, trying several options for your device type.

Ensure you’ve selected the correct device type during programming (TV, DVD, Soundbar, etc.). If the problem continues, the remote may be sending conflicting signals; try resetting the remote to factory settings and re-programming. Check the One For All support website for known issues with your device model.
Specific Device Setup Guides
This section provides tailored setup instructions for popular device brands, ensuring optimal compatibility with your One For All remote. We’ll cover specific procedures for Samsung and LG televisions, detailing code entry and potential troubleshooting steps unique to each brand.
Furthermore, we’ll guide you through connecting your remote to various soundbar models from leading manufacturers like Sony and Bose. These guides address common issues encountered during setup, such as volume control and input switching. Detailed instructions, including button mapping and advanced feature access, will be provided for each device type, maximizing your entertainment experience. Refer to these guides for brand-specific solutions.
Setting Up with Samsung TVs
To set up your One For All remote with a Samsung TV, begin by ensuring your TV is powered on. Utilize the auto-search function, allowing the remote to cycle through compatible codes. Alternatively, manually enter a Samsung code from the provided code list – consult the One For All website for the most up-to-date codes.
If initial setup fails, try different codes within the Samsung range. Test core functions like power, volume, and channel changing after each code entry. For Samsung Smart TVs, explore dedicated Smart Hub controls within the remote’s settings. If issues persist, verify the remote’s infrared emitter is unobstructed and aimed directly at the TV’s sensor.
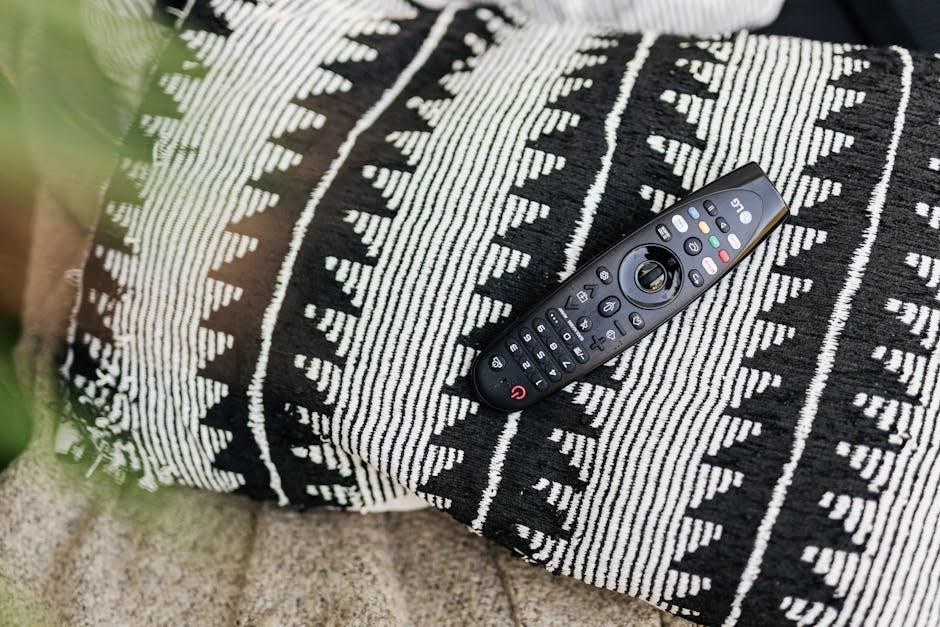
Setting Up with LG TVs
Configuring your One For All remote for LG TVs involves similar steps to Samsung. Start by powering on your LG television. Initiate the auto-search process, letting the remote scan for compatible LG codes. If auto-search is unsuccessful, manually input a code from the code list – the One For All support website offers the latest LG TV codes.
After entering a code, test essential functions like power, volume control, and channel navigation. For LG Smart TVs, check if the remote correctly accesses the Smart TV interface. If problems arise, ensure a clear line of sight between the remote and the TV’s IR receiver. Try multiple codes within the LG range for optimal performance.
Setting Up with Soundbars (Sony, Bose, etc.)
Pairing your One For All remote with a soundbar, like those from Sony or Bose, often requires a slightly different approach. Begin by ensuring your soundbar is powered on and in the correct input mode (typically TV or AUX). Utilize the auto-search function, specifically targeting soundbar brands. If unsuccessful, consult the One For All website for a comprehensive list of soundbar codes.
Test core functionalities – volume control and power – after code entry. Some soundbars may require specific codes for Bluetooth connectivity or advanced features. If the remote struggles, verify the soundbar’s IR receiver is unobstructed and try alternative codes listed for your soundbar’s manufacturer. A direct line of sight is crucial for reliable operation.
Maintenance and Care
To ensure the longevity of your One For All remote, regular maintenance is key. Avoid exposing the remote to extreme temperatures or direct sunlight, as this can damage internal components. For cleaning, gently wipe the exterior with a soft, dry cloth. Avoid using abrasive cleaners or liquids, which could strip the finish or seep into the buttons.
When not in use, store the remote in a cool, dry place, ideally protected from dust and potential impacts. Regularly check the battery compartment for corrosion, and replace batteries promptly when the remote’s performance diminishes. Proper storage and careful handling will maximize the lifespan of your universal remote.

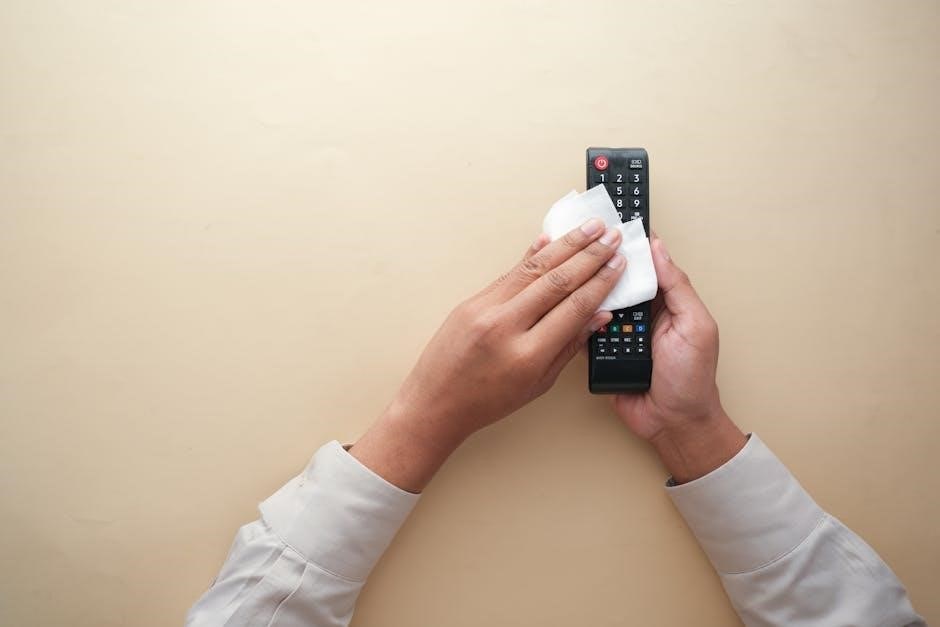
Cleaning the Remote Control
Maintaining a clean remote ensures optimal performance and hygiene. Before cleaning, always remove the batteries to prevent accidental operation and potential damage. Use a soft, lint-free cloth, slightly dampened with water, to wipe down the remote’s surface. Avoid excessive moisture; never spray liquids directly onto the device.
For stubborn dirt or grime, a mild soap solution can be used, but ensure the cloth is only damp, not wet, and wipe thoroughly with a dry cloth afterward. Do not use abrasive cleaners, solvents, or alcohol-based products, as these can damage the plastic casing and button labels. Regular gentle cleaning will keep your One For All remote in excellent condition.
Storing the Remote Control Properly
Proper storage extends the life of your One For All remote and prevents damage. When not in use, store the remote in a cool, dry place, away from direct sunlight and extreme temperatures. Avoid storing it near sources of heat or humidity, as these can affect its functionality.
A dedicated remote control holder or a soft pouch can provide protection against dust and accidental impacts. Do not place heavy objects on top of the remote, as this could damage the buttons or internal components. Keeping the remote in a safe and organized location ensures it’s readily available when you need it and remains in good working order for years to come.
Remote Control Safety Precautions
To ensure safe operation of your One For All remote, please adhere to the following precautions. Do not disassemble the remote, as this could expose you to electrical shock or damage the internal components. Avoid dropping or subjecting the remote to strong impacts, which can cause malfunction.
Keep the remote away from liquids to prevent corrosion and short circuits. This device is not intended for use by young children without adult supervision. Do not expose the remote to fire or extreme heat. Always use batteries of the correct type and polarity, and remove them if the remote will not be used for an extended period to prevent leakage and damage.
Warranty Information and Support
Your One For All remote control is covered by a [Specify Warranty Length ౼ e.g., one-year] limited warranty against defects in materials and workmanship from the date of purchase. This warranty does not cover damage resulting from misuse, accidents, or unauthorized modifications. Proof of purchase is required for all warranty claims.
For warranty service or technical support, please visit our website at [Insert Website Address] or contact our customer support team. We offer a range of support options, including online FAQs, troubleshooting guides, and direct assistance from our knowledgeable representatives. We are committed to providing excellent customer service and ensuring your satisfaction with our products.
One For All Warranty Details
The One For All warranty covers defects in materials and workmanship under normal use for a period of one year from the original purchase date. This warranty applies to the remote control itself and does not extend to batteries or any devices controlled by the remote. Damage caused by improper handling, accidental drops, liquid exposure, or unauthorized repairs voids the warranty.
To initiate a warranty claim, retain your proof of purchase and contact our customer support team. We may request you to return the defective remote for inspection. If a valid claim is approved, we will, at our discretion, repair or replace the remote with a new or refurbished unit. This warranty gives you specific legal rights, and you may have other rights which vary by location.
Contacting Customer Support
Our dedicated customer support team is available to assist you with any questions or issues regarding your One For All remote control. You can reach us through several convenient channels. For immediate assistance, visit our website at [insert website address here] and utilize the live chat feature during business hours. Alternatively, you can call our toll-free support line at [insert phone number here], available Monday to Friday, 9 AM to 5 PM EST.
We also offer comprehensive support resources, including FAQs and troubleshooting guides, on our website. Please have your remote control model number ready when contacting support to expedite the process. Email inquiries can be sent to [insert email address here], and we aim to respond within 24-48 hours.